
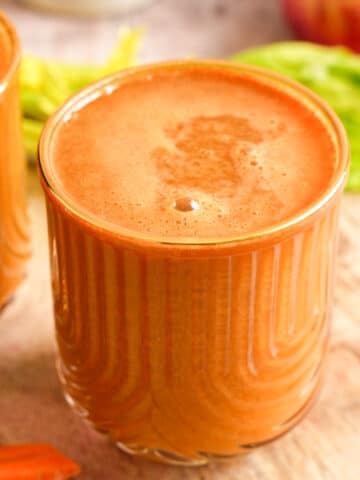
This zesty and invigorating ginger shot recipe features washed ginger, crisp green apples, and lemon juice, all strained into a single concentrated glass. It's a simple, plant-based take on the wellness shots you'd find at a juice bar, delivering the same fresh ginger kick without the markup or added sugars of store-bought versions.

Ginger shots have been part of my regular wellness routine for years, and they are so easy to make, especially with a hands-free slow juicer like my Kuvings Auto10 Plus. But don't worry, if you don't have one. A blender and a nut milk bag get the job done, and I'll show you how. This base recipe uses fresh ginger root, green apple, and vitamin C-rich citrus, plus an optional splash of filtered water if you prefer a milder shot. For another easy way to use fresh ginger in your wellness drinks, try my Turmeric Ginger Glow Juice, perfect if your digestive system could use a little reset.
If you are looking to invest in a good cold-press juicer, I highly recommend the Kuvings AUTO10 Plus. Use my code "NATURALVEGAN" to get 10% off. It's one of my best kitchen investments.
As an Amazon Associate, I earn from qualifying purchases.
This recipe features several affiliate links, meaning I will earn a small commission if you purchase through these links.
Ingredients To Make This Homemade Ginger Shot:

- Fresh Ginger Root: Start with the smaller amount if you're new to ginger shots, since fresh ginger root has a strong, spicy kick.
- Granny Smith Apples: A tart green apple balances the heat of the ginger and adds natural sweetness without any added sugars.
- Lemons: Fresh lemon juice brightens the whole shot and adds a vitamin C-rich citrus boost.
- Filtered Water: This is optional, but I like adding a little to mellow the intensity, especially if I'm sharing these with anyone who's not used to a strong ginger shot.
See the recipe card for quantities.
How To Make It:
- 1. Prep the Ginger: Use a vegetable brush to wash the ginger thoroughly, then roughly chop it into small pieces.
- 2. Prep the Apples and Lemons: Core the apples and peel the lemons so they're ready to juice or blend.
- 3. Juice or Blend: If using a juicer like the Kuvings AUTO10 Plus, add the ginger, apples, and lemons to the hopper and juice according to the manufacturer's instructions. If using a high-speed blender, add the ginger, apples, lemons, and 1 cup of filtered water and blend until completely smooth.
- 4. Strain, If Blending: Pour the blended mixture into a nut milk bag set over a large bowl or pitcher, then squeeze firmly to extract as much juice as possible, leaving the pulp behind.
- 5. Adjust the Flavor: Stir in the optional filtered water if you'd like a milder shot.
- 6. Bottle and Store: Pour the finished ginger juice into airtight glass bottles or jars.
- 7. Refrigerate and Enjoy: Refrigerate and enjoy a two-ounce shot daily. Many people like taking theirs first thing, on an empty stomach.
Top Tips:
Start Small With Ginger: If you're new to ginger shots, use the smaller amount of ginger root and increase it next time once you know your tolerance.
Make a Big Batch: Since these store well, I like making a full recipe at once so I have enough for the entire week.
Variations And Substitutions:
- Add a Citrus Boost: Swap some of the lemon for orange juice or lime juice for a different citrusy flavor.
- Add a Spicy Kick: A pinch of cayenne pepper or a touch of black pepper is a great addition if you want an extra-warming shot.
- Swap the Water: Use coconut water instead of regular water for a slightly different, more hydrating base. But I prefer sticking with filtered water to keep the flavor pure and let the ginger shine.
- Try Ginger Turmeric Shots: Add a small piece of fresh turmeric root to the juicer or blender for a ginger turmeric shots variation.

Storage:
- Refrigeration: Store your ginger shots in an airtight glass container in the refrigerator for up to 5 days.
- Best Texture: Shake well before serving, since the ingredients can settle the longer the juice sits.
- Freezing: For longer storage, freeze individual shots in a silicone ice cube tray, similar to my Frozen Immunity Cubes, then thaw one at a time as needed.
Equipment Needed:
- Kuvings AUTO10 Plus Juicer: For juicing the ginger, apples, and lemons quickly and efficiently.
- High-Speed Blender (optional): For blending everything smooth if you're using the blender method instead.
- Nut Milk Bag (optional): For straining the pulp out of the blended mixture to get a smooth juice.
- Glass Jar or Bottles: For storing your finished ginger shots in the fridge.
Recipe FAQs:
Ginger is well known for its anti-inflammatory properties and antioxidant properties, and many people enjoy ginger shots as part of their wellness routine to support healthy digestion and overall immune health. As always, talk to your doctor about what's right for your individual health needs.
Most people enjoy 1-2 ounces daily, but everyone's tolerance is different, so it's best to start small and see how your body responds.

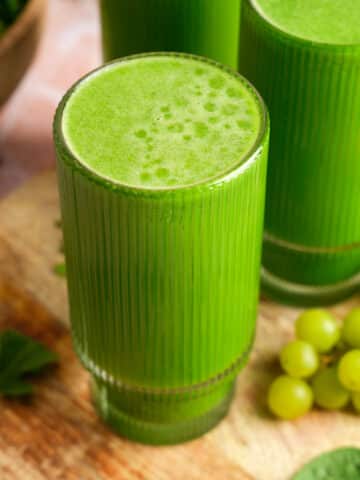
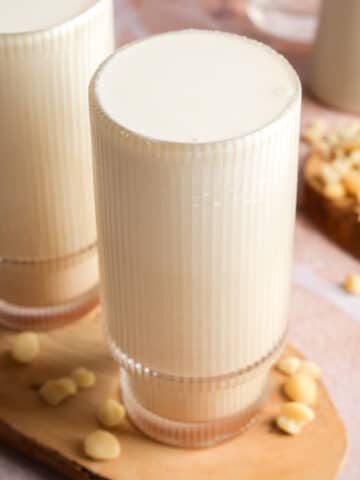
More Amazing Wellness Drinks To Try Next:
Looking for other recipes like this? Try these:


If you try this Healthy Homemade Ginger Shots Recipe, I'd really love to hear your thoughts in the comments below. I'd also really appreciate a recipe card rating! Thank you for supporting The All Natural Vegan!

Healthy Homemade Ginger Shots Recipe
Equipment
Ingredients
- ½ to 1 pound fresh ginger root washed (start with ½ pound for a milder shot)
- 6 granny smith apples cored
- 3 lemons peeled
- 1 cup filtered water optional, for a milder flavor
Instructions
- Wash the ginger thoroughly and roughly chop it into pieces that will fit easily into the juicer hopper.
- Peel the lemons.
- Add the ginger, apples, and lemons to the Kuvings AUTO10 Plus hopper.
- Juice according to the manufacturer's instructions, allowing the machine to process the ingredients automatically.
- Stir in the filtered water, if using, to reduce the intensity of the ginger.
- Pour the juice into airtight glass bottles or jars.
- Refrigerate and enjoy 1-2 ounces daily.
Comments
No Comments