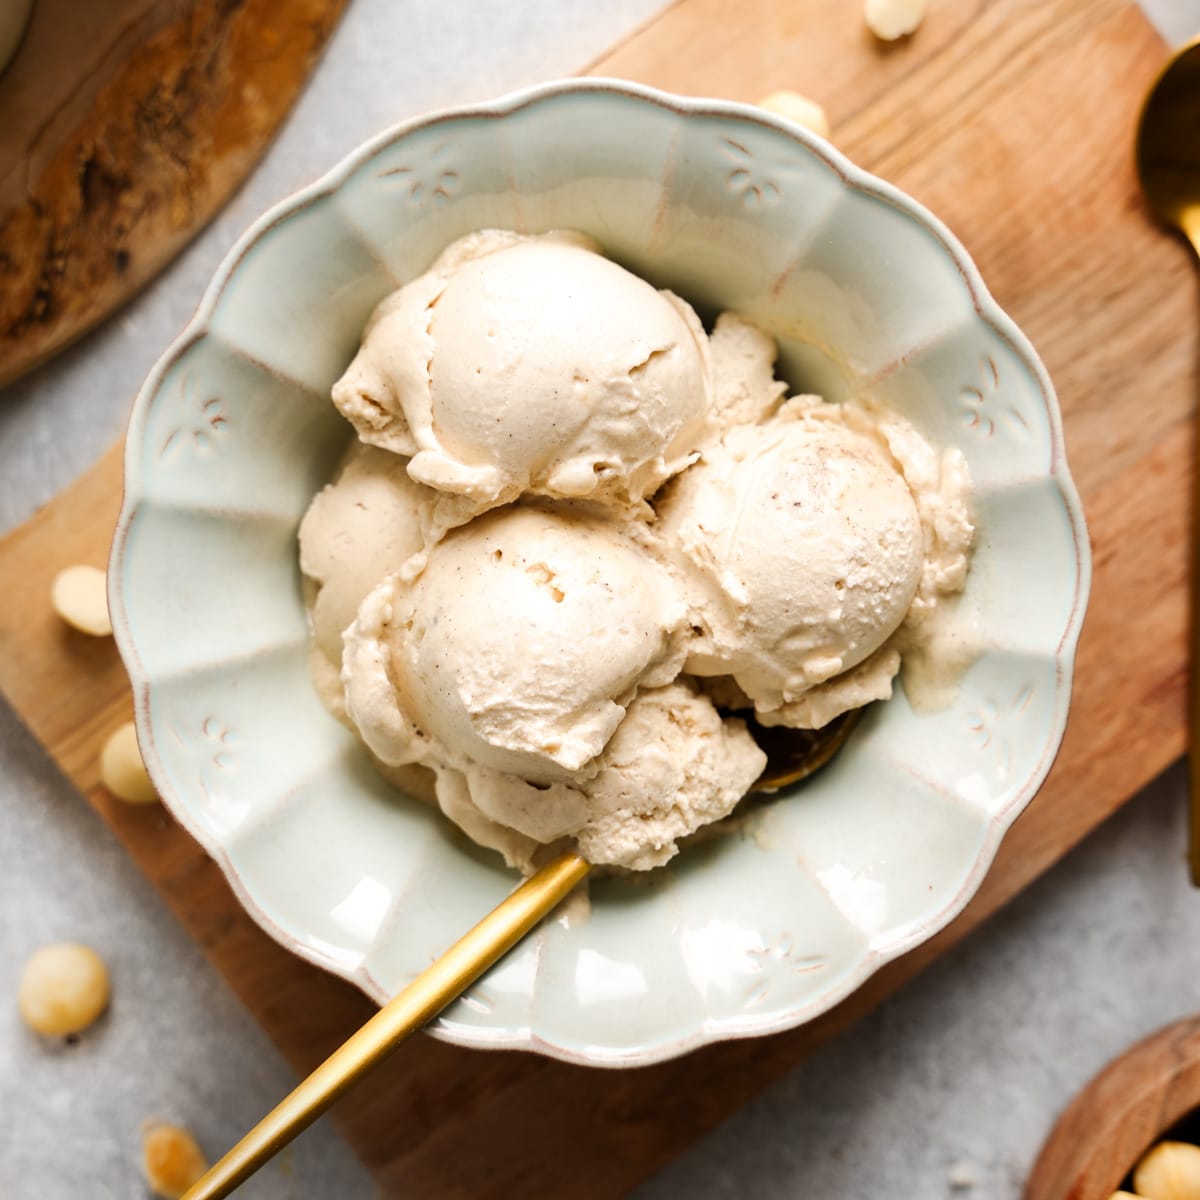
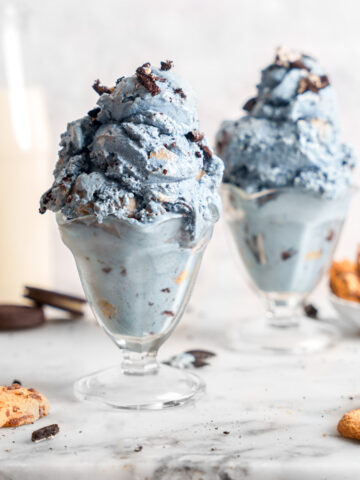
No matter if you churn it in the Ninja Creami for a smooth, creamy scoop or let it set in the freezer the classic way, this macadamia nut ice cream is easy, indulgent, and utterly satisfying. Sprinkle on toasted macadamias, vegan chocolate chunks, coconut flakes, or a drizzle of maple syrup for a truly decadent treat.

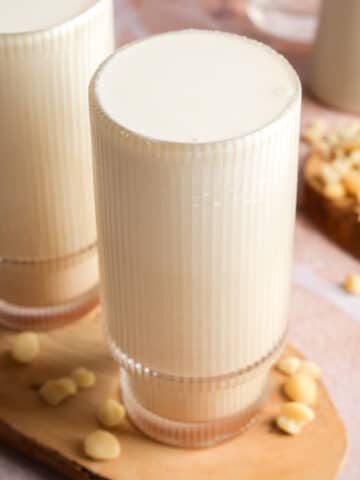
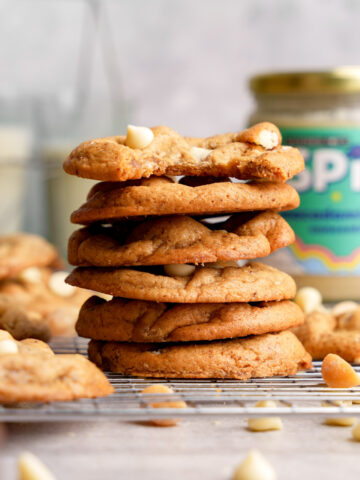
Whether you make Homemade Macadamia Nut Milk or Double Macadamia Nut White Chocolate Cookies, this nut brings the buttery taste to your treats in the most delicious vegan way. And this ice cream base is no different. It's so simple to make, yet it tastes like a luxurious ice cream from a fancy shop. Make it a fun dessert night after a long day, or enjoy it with family and friends by adding fun toppings for a full ice cream experience. Plus, I share the freezer method and how to make it with your Ninja Creami, if you own one.
As an Amazon Associate, I earn from qualifying purchases.
This recipe features several affiliate links, meaning I will earn a small commission if you purchase through these links.
Ingredients To Make Coconut Macadamia Nut Ice Cream:
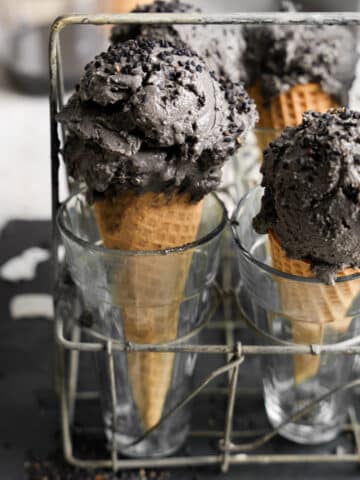
- Full-Fat Coconut Milk: This is the foundation of your ice cream base and what gives it that ultra-creamy texture, similar to my Black Sesame Ice Cream. I recommend full-fat coconut milk, which ensures your ice cream will be smooth and scoopable, even without an ice cream maker.
- Macadamia Nut Butter: Adds rich, nutty flavor and a luxurious, sweet buttery taste to the ice cream without any dairy, like heavy cream or egg yolks. It's the star ingredient that gives this vegan treat its signature texture. If you can, choose unsweetened macadamia butter to keep the recipe refined sugar-free.
- Maple Syrup: It not only adds natural sweetness but also helps prevent the ice cream from freezing too hard. I love using pure maple syrup for a subtle depth of flavor.
- Vanilla Bean Powder (or Vanilla Extract): Adds a warm, aromatic note that enhances the overall flavor of the ice cream. Vanilla bean powder has a more intense, fragrant flavor, but pure vanilla extract works beautifully too.
- Sea Salt: Just a pinch of salt brings out the sweetness and richness of the macadamia and coconut flavors. It also balances the ice cream so every scoop is perfectly flavorful.
- Optional Toppings: My favorites are crushed macadamia nuts, vegan chocolate, coconut flakes, or a drizzle of maple syrup.
See the recipe card for quantities.
How To Make It:
Use your Ninja Creami ice cream machine for a smoother, more professional texture, or stick to the freezer method for a simple, equipment-free approach.
Ninja Creami Method Option 1:
- 1. Mix the Base: In a medium bowl, combine all the ice cream ingredients, except the optional toppings. Whisk until smooth and fully emulsified. Make sure there are no streaks of nut butter.
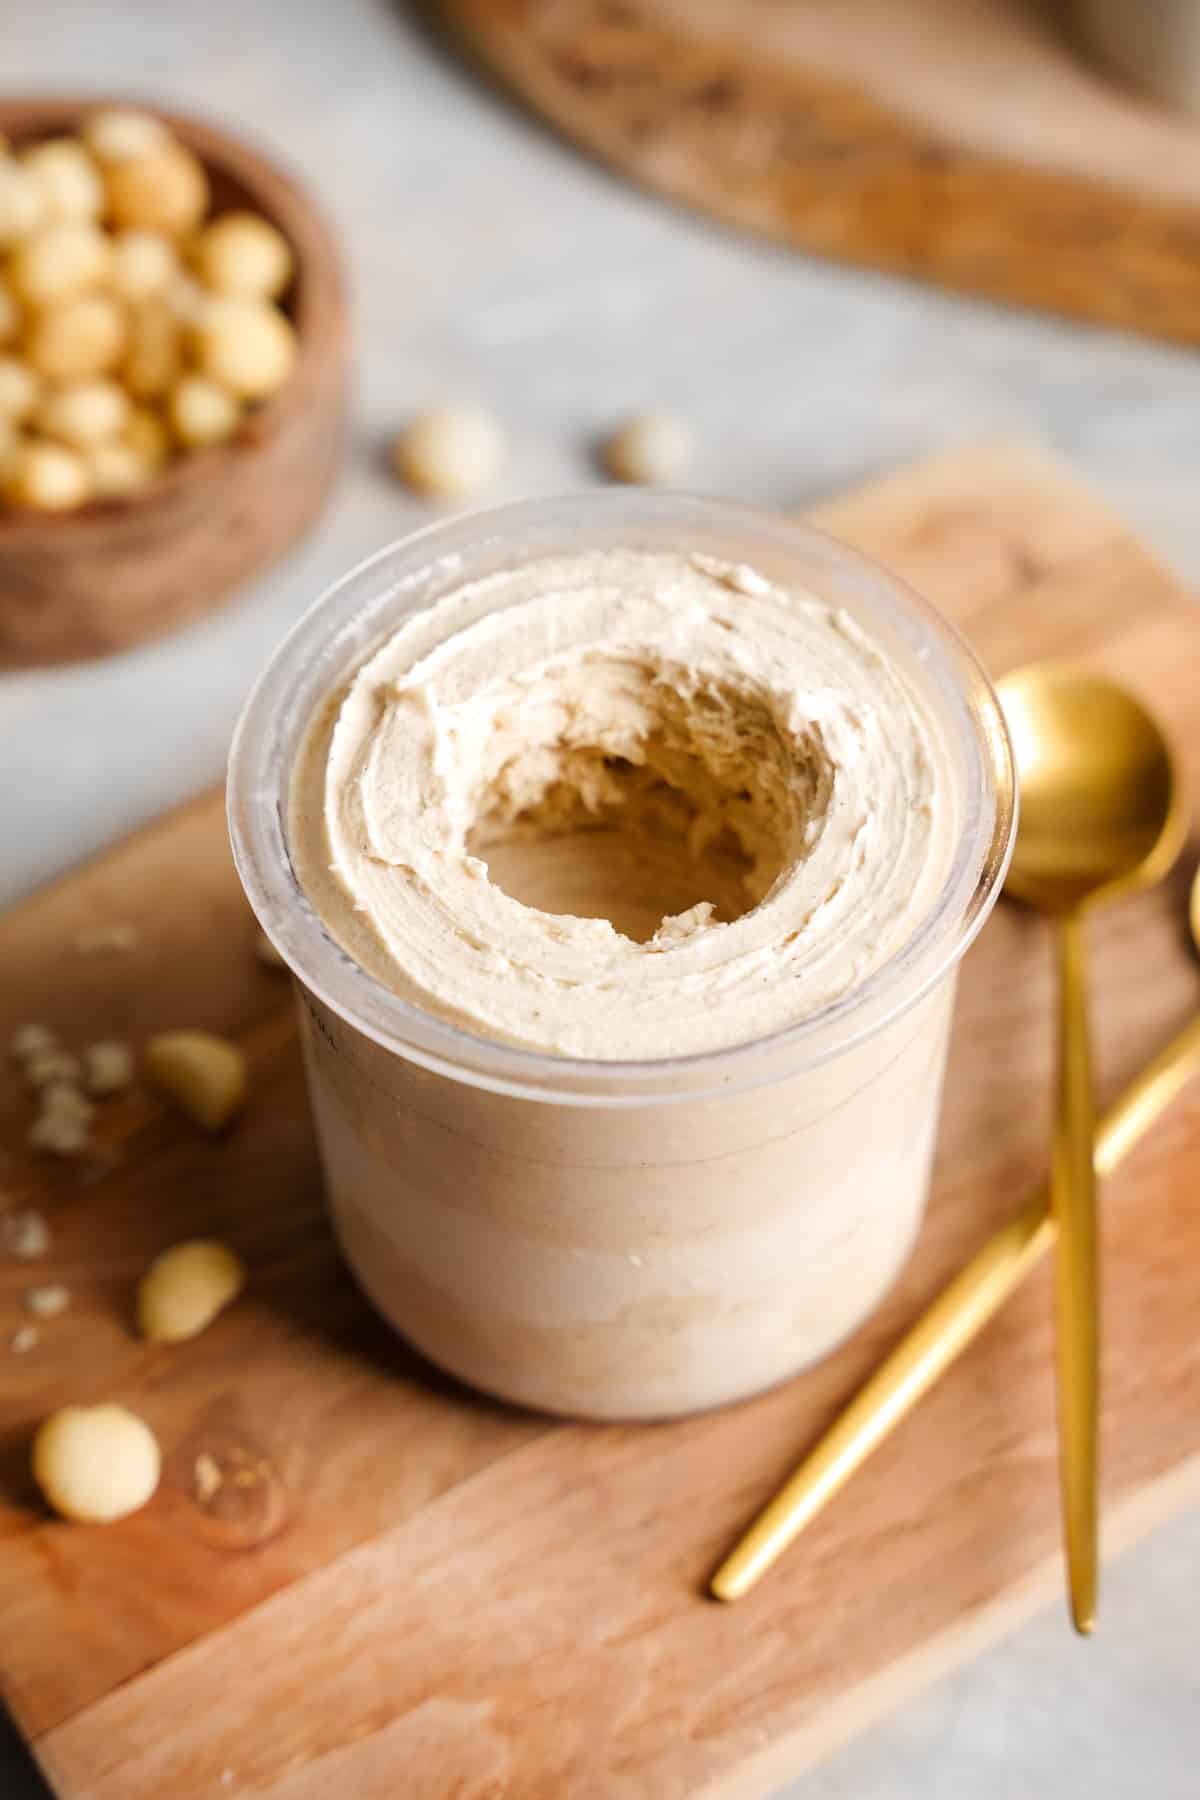
- 2. Freeze: Pour the mixture into your Ninja Creami pint container, making sure the surface is level. Freeze flat for at least 24 hours. This step is crucial for achieving that creamy, scoopable texture.
- 3. Churn: Once frozen, place the pint in your Ninja Creami and select the "Lite Ice Cream" or "Creami" function. If the ice cream is too firm after the first spin, simply add a splash of plant-based milk and re-spin until smooth and creamy.
- 4. Serve: Scoop into bowls or cones. Choose your toppings.
Standard Freezer Method Option 2:
- 1. Mix the Base: Follow the same instructions above, whisking together coconut milk, macadamia nut butter, maple syrup, vanilla, and sea salt until smooth and creamy.
- 2. Freeze: Pour the mixture into a freezer-safe container. Freeze for 4-6 hours.
- 3. Stir: During the first 2-3 hours, stir every hour to break up ice crystals and ensure a smooth, creamy texture. This step mimics the churning action of an ice cream machine.
- 4. Serve: Allow the ice cream to sit at room temperature for 5-10 minutes before scooping. Add your favorite toppings for a deliciously creamy vegan treat.

Top Tips:
- Use Full-Fat Coconut Milk: For the creamiest ice cream base, always choose full-fat coconut milk. Lite versions can result in a thinner, icier texture.
- Macadamia Nut Butter Matters: The macadamia nut butter adds richness, healthy fats, and a smooth, creamy texture. Stir well to ensure it's fully incorporated into your ice cream mixture.
- Whisk Well: Whisking until fully emulsified prevents separation and gives you that silky, creamy texture.
- Ninja Creami Hack: If your ice cream is too firm after the first spin, add a splash of plant milk and re-spin. This small adjustment can turn a stiff ice cream base into a scoopable, soft-serve consistency.
- Toppings: You can recreate the whole experience of visiting an ice cream shop at home by adding crunchy toppings to mini bowls that everyone can choose from. It's fun and the perfect treat when entertaining at home.
Variations And Substitutions:
- Sweetener Swaps: Replace maple syrup with date syrup or agave nectar. Adjust to taste depending on your preferred sweetness level.
- Flavor Boosts: Add peppermint extract for a festive twist or cinnamon for a subtle warming note. Vanilla lovers can use vanilla extract instead of vanilla bean powder.
- Chocolate Lover's Version: Fold in vegan chocolate chips or swirl in a hot fudge or raw cacao powder before freezing to create a rich chocolatey flavor throughout your ice cream.
- Add Crunch: Sprinkle toasted macadamia nuts or shredded coconut on top for added texture and a gourmet touch.
Storage:
Store in an airtight container or freezer bowls and freeze. For best flavor and texture, enjoy within 1-2 weeks.
Equipment Needed:
- Medium Mixing Bowl: To combine your coconut milk, macadamia nut butter, maple syrup, vanilla, and sea salt into a smooth base.
- Whisk or Fork: To thoroughly emulsify the ingredients and achieve a creamy texture without lumps.
- Ice Cream Maker or Ninja Creami: For churning the mixture into soft serve or firm ice cream with the perfect scoopable consistency.
- Freezer-Safe Container: Needed if using the no-machine method. Choose one with a lid or cover with plastic wrap to prevent freezer burn.
- Measuring Cups & Spoons: For accurately portioning ingredients and maintaining the balance of flavors.
- Spatula: Helpful for scraping down the sides of the bowl and ensuring all ingredients are fully incorporated.
- Serving Bowls or Cones: To enjoy your ice cream with your favorite toppings.
- Hand Mixer or Stand Mixer (Optional): Can be used for an extra silky, smooth ice cream base if desired.

Recipe FAQs:
Yes! Cashew butter or almond butter are great alternatives. They provide a similar creamy texture and rich flavor, though the taste will not be the same and not as "buttery".
Both work! Vanilla bean powder gives a richer, more aromatic flavor, while vanilla extract is convenient and still delicious.
Stirring the mixture during the first few hours of freezing (if using the no-machine method) or using a Ninja Creami or ice cream maker helps achieve a smooth, creamy texture.
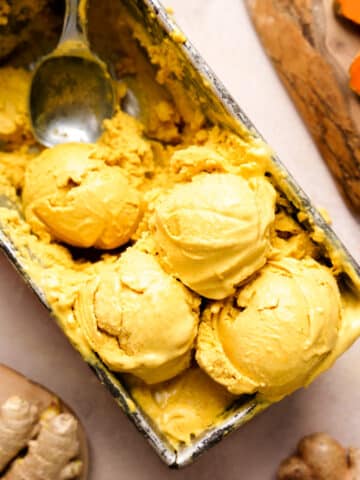
More Amazing Vegan Ice Creams To Try Next:
Looking for other recipes like this? Try these, or check out my 20+ Irresistible Gluten-Free Vegan Desserts for other plant-based treats!


If you try this Homemade Macadamia Nut Ice Cream Recipe, I'd really love to hear your thoughts in the comments below. I'd also really appreciate a recipe card rating! Thank you for supporting The All Natural Vegan!

Homemade Macadamia Nut Ice Cream (Ninja Creami Option!)
Equipment
Ingredients
- 1 can full-fat coconut milk
- ½ cup macadamia nut butter
- ⅓ cup maple syrup
- ½ teaspoon vanilla bean powder or 1 teaspoon vanilla extract
- ½ teaspoon sea salt
Instructions
Mix the Base:
- In a medium mixing bowl, pour in the full-fat coconut milk. Add macadamia nut butter, maple syrup, vanilla bean powder, and sea salt.
Whisk Until Smooth:
- Use a whisk (or fork if needed) to thoroughly combine all ingredients until the mixture is smooth, creamy, and fully emulsified.
Freeze:
Option 1: Ninja Creami Method
- Pour the mixture into the Creami pint container, freeze flat for 24 hours.
- Once frozen, use the "Lite Ice Cream" or "Creami" function. Re-spin with a splash of plant milk if needed.
Option 2: Standard Freezer Method
- Transfer to a freezer-safe container.
- Freeze for 4-6 hours, stirring every hour for the first 2-3 hours to reduce ice crystals.
- Let sit at room temp for 5-10 mins before scooping.
Serve:
- Scoop into bowls or cones and top with crushed macadamia nuts, vegan chocolate, coconut flakes, or a drizzle of maple syrup.
Related Vegan Macadamia Nut Recipes:
Make sure to check out some of the other macadamia nut recipes on my website!


Mel says
Just tasting the blended ingredients before freezing.. I cannot wait! This is delicious! ALSO... I used some left over for cream in my coffee!! Best creamer ever!