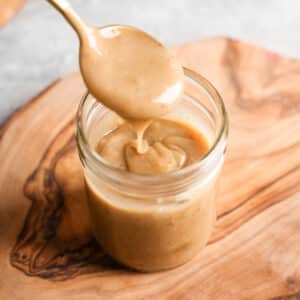
Ideal for both first-time cooks and seasoned bakers seeking a vegan version of Sweetened Condensed Milk, preservative-free, this condiment is easy to make, super simple to store, and better than any canned stuff out there.
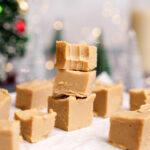
I love keeping a batch of this vegan sweetened condensed milk on hand because it's such a versatile ingredient for plant-based desserts and sweet treats like my 3-Ingredient Sunbutter Vegan Fudge and my Passion Fruit Mousse. It's surprisingly easy to make with just full-fat coconut milk and maple syrup, and it provides the same creamy sweetness as regular condensed milk without any dairy. Having this condiment on hand saves trips to the store and gives me complete control over the sweetness and coconut taste. Plus, it's made with two simple, wholesome ingredients.
As an Amazon Associate, I earn from qualifying purchases.
This recipe features several affiliate links, meaning I will earn a small commission if you purchase through these links.
Ingredients To Make Condensed Coconut Milk:

- Full-Fat Coconut Milk: Using a full-fat coconut milk gives your vegan condensed milk a rich, creamy texture and the perfect balance of sweetness and thickness. A higher fat content helps achieve the classic consistency of regular condensed milk. Stock up on this ingredient to also make my Creamy Vegan Golden Milk Ice Cream. It's so good!
- Maple Syrup: This naturally sweet vegan sweetener adds flavor and richness without the need for cane sugar or refined sweeteners.
- Vanilla Bean Powder: (Optional) Adds a delicious vanilla flavor to the milk.
See the recipe card for quantities.
How To Make It:
- Combine Ingredients: In a small saucepan, add the full-fat coconut milk and maple syrup. Stir gently until the mixture is evenly combined.
- Simmer Gently: Place the pan over low heat. Bring the mixture to a gentle simmer, avoid boiling. Stir frequently to prevent sticking or burning.
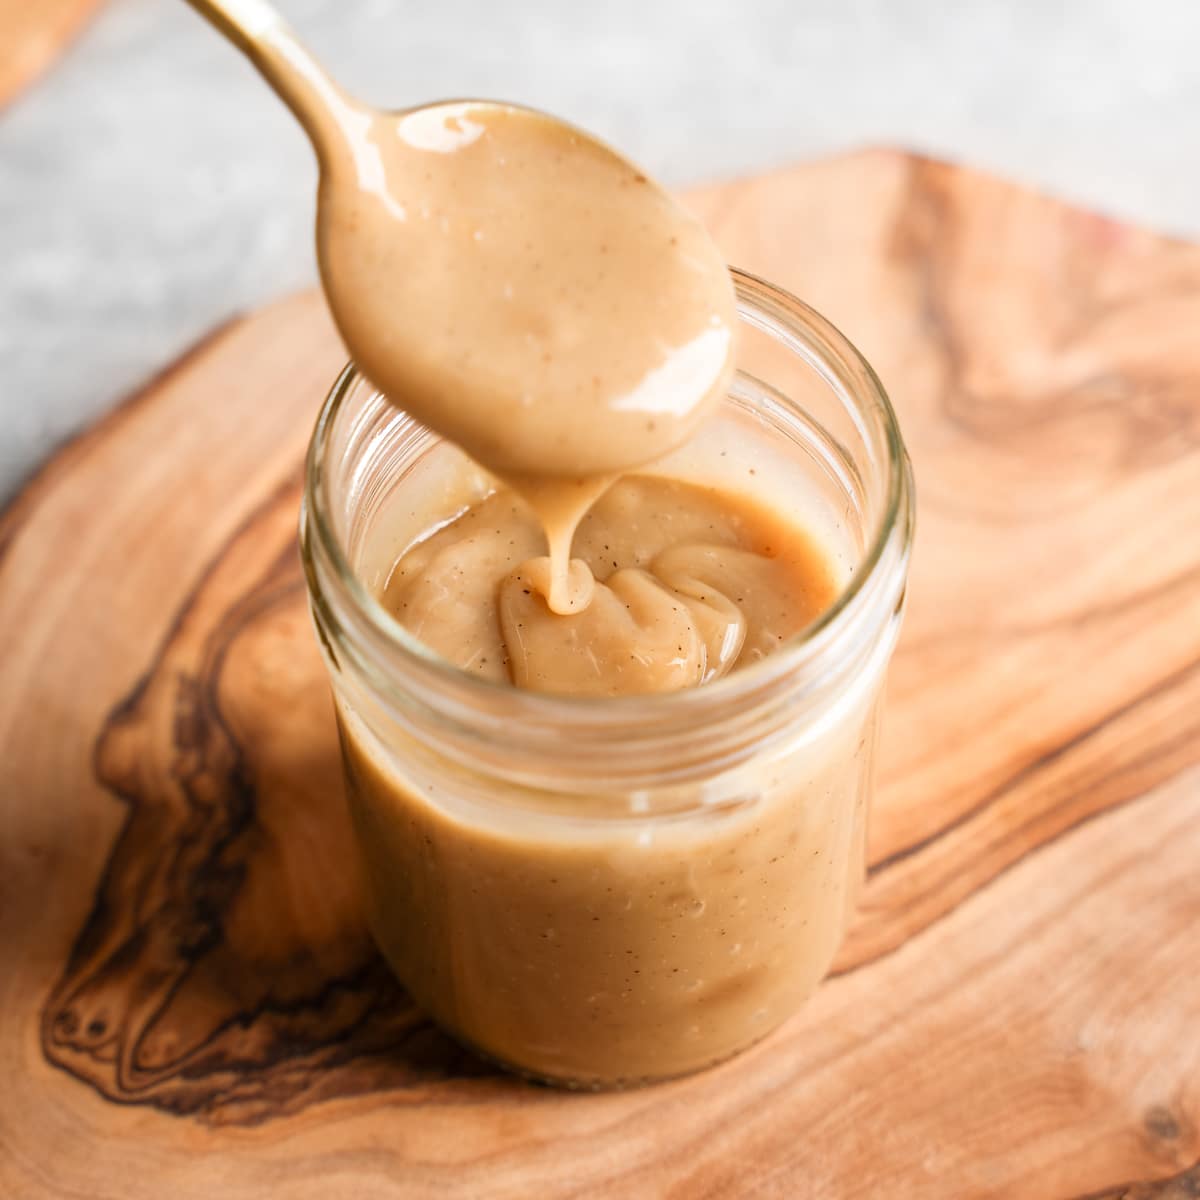
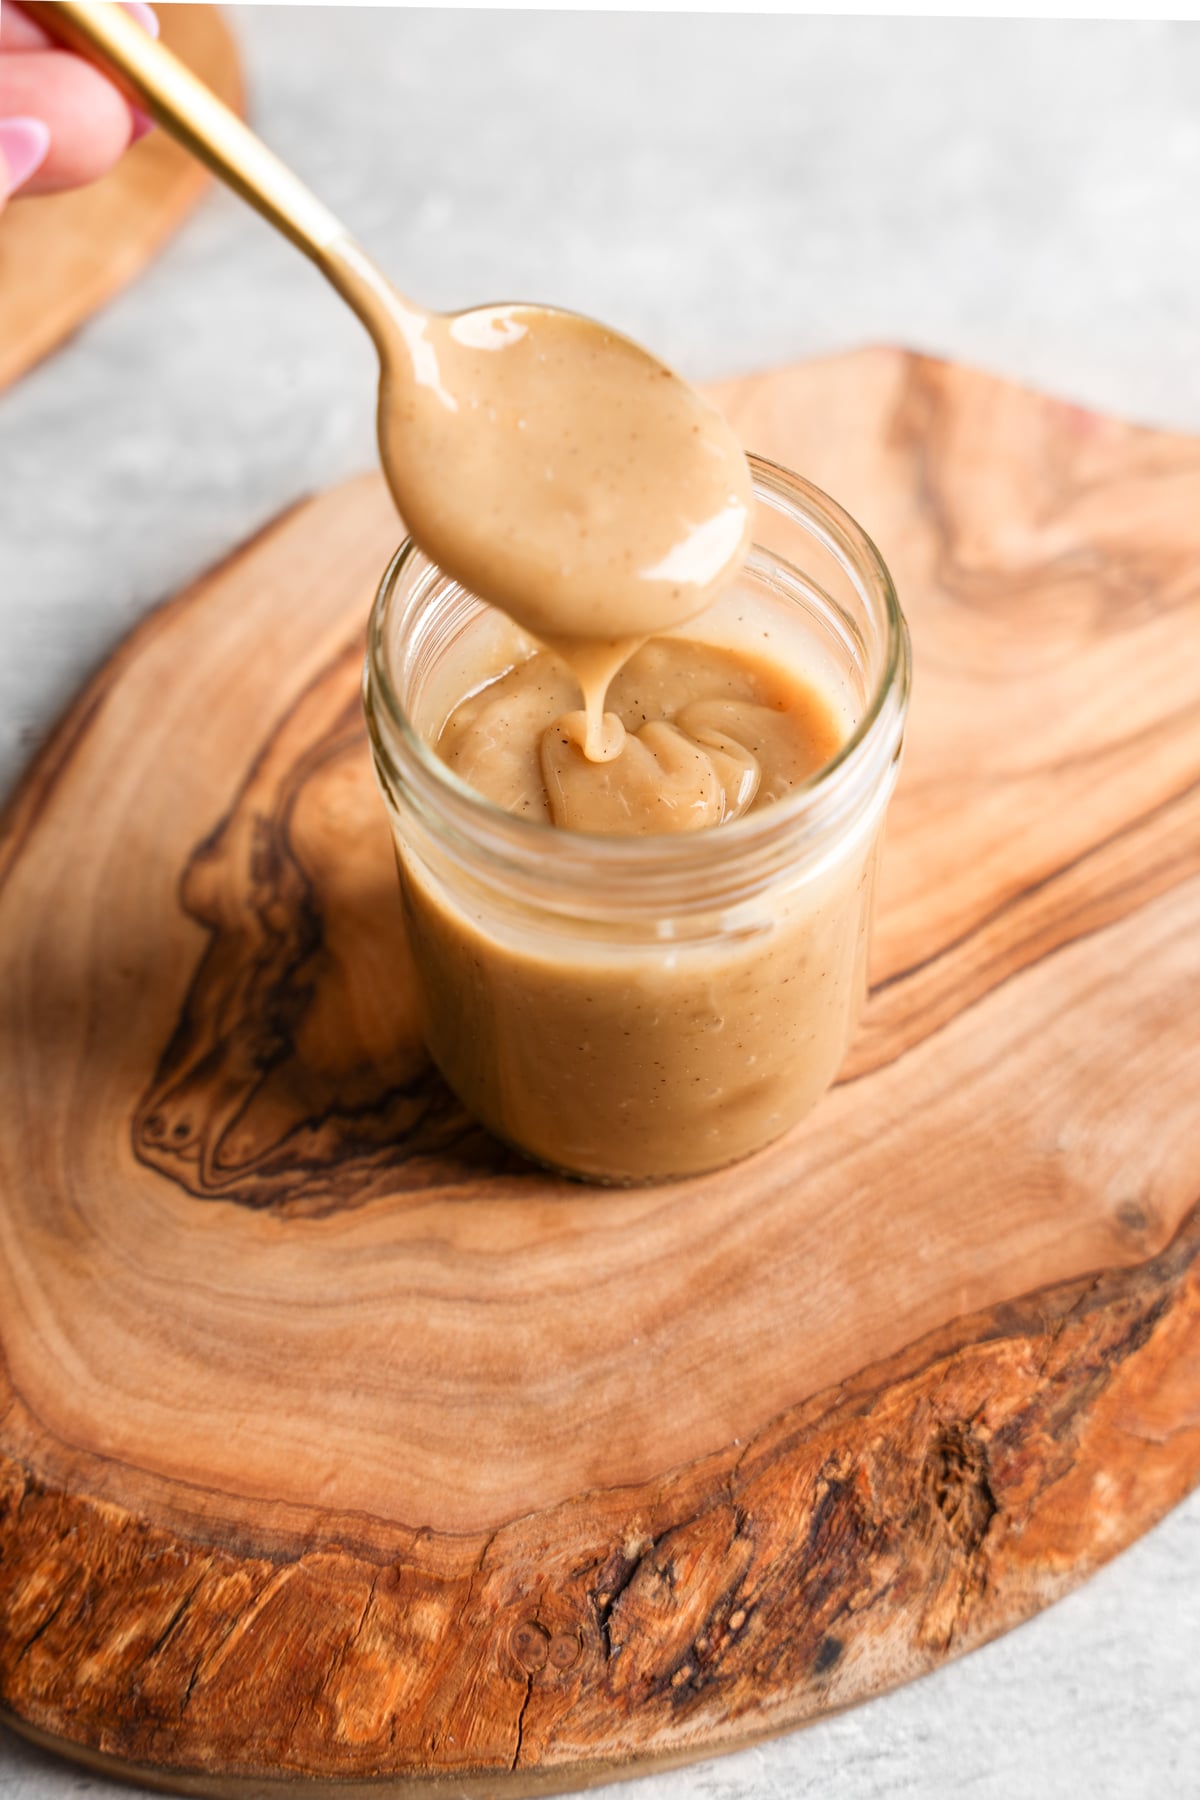
- Reduce the Liquid: Let it simmer for 30-40 minutes, stirring occasionally, until the mixture thickens to a syrupy consistency and coats the back of a spoon. The end result should resemble regular condensed milk in texture and richness.
- Cool Down: Remove from heat and allow it to cool to room temperature. It will thicken further as it cools.
- Store: Transfer the condensed coconut milk to a mason jar or an airtight container.
Top Tips:
Here are a few of my tips for making the best vegan sweetened condensed milk:
- Use Full-Fat Coconut Milk: For a rich, creamy texture, choose a full-fat coconut milk with a higher fat content. Avoid lite coconut milk as it won't thicken as well.
- Low Heat Simmering: Keep the heat low to prevent burning and to achieve that perfect condensed coconut milk consistency. Stir frequently for best results.
- Patience Matters: Reducing the milk takes a little bit of time (about 30-40 minutes) but it's worth it for the perfect balance of creaminess and sweetness.
Variations And Substitutions:
- Vanilla Flavor: Add a few drops of vanilla extract after removing from heat for an extra layer of flavor in dessert recipes.
- Sweeteners: Swap maple syrup for agave nectar if that's what you have on hand. Or try my Pumpkin Spice Infused Maple Syrup for a fun fall twist.
Storage:
- Store in a mason jar or airtight container in the fridge for up to 1 week, Or use right away in my Vegan Protein Fudge!
- Gently reheat over low heat to loosen if it thickens too much when chilled.
Equipment Needed:
- Small Saucepan: For gently simmering the milk and sweetener over low heat.
- Measuring Cup & Spoons: For accurately measuring full-fat coconut milk and maple syrup.
- Whisk or Spoon: To stir the mixture and keep the ingredients well combined.
- Mason Jar or Airtight Container: For storing the finished condensed coconut milk in the fridge.
- Spatula (Optional): Helpful for scraping down the sides of the pan during simmering to ensure even reduction.

Recipe FAQs:
Can I use a store-bought vegan version instead?
Yes! You can use store-bought vegan condensed milk, but making it at home ensures simple ingredients and no preservatives or cane sugar.
Yes! The mixture thickens further as it reaches room temperature, giving that classic condensed milk consistency.
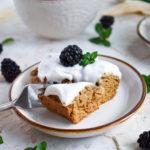
Amazing Vegan Recipes To Use This Vegan Condensed Milk:
This homemade sweetened condensed milk is incredibly versatile and can be used in a variety of vegan recipes and sweet treats. Here are some of my favorite ways to enjoy it:


If you try this Vegan Sweetened Condensed Milk Recipe, I'd really love to hear your thoughts in the comments below. I'd also really appreciate a recipe card rating! Thank you for supporting The All Natural Vegan!
Homemade Vegan Sweetened Condensed Milk (Refined Sugar-Free)
Equipment
- 1 glass jars
Ingredients
- 13.5 oz full-fat coconut milk (1 can)
- ¼ cup pure maple syrup
- ¼ teaspoon vanilla bean powder optional
Instructions
Combine Ingredients
- In a small saucepan, add the full can of coconut milk and the maple syrup. Stir to combine.
Simmer Gently
- Place the pan over medium-low heat and bring the mixture to a gentle simmer - not a boil. Stir frequently to prevent burning or sticking.
Reduce
- Let it simmer for 30-40 minutes, stirring occasionally, until the liquid has reduced by about half and thickened to a syrupy consistency. It should coat the back of a spoon.
Cool Down
- Remove from heat and let it cool. It will thicken further as it cools.
Store
- Transfer to a clean jar or container. Store in the fridge for up to 1 week. Gently reheat to loosen it up if it thickens too much when chilled.


Comments
No Comments